How to Run a Phishing Simulation: A Step-by-Step Guide for IT Teams
Complete step-by-step guide: written authorisation, domain setup (SPF/DKIM/DMARC), template selection, IP whitelisting for Zscaler/Proofpoint/Mimecast, CSV target upload, and reading click vs. credential-submission results. No prior experience required.
Phishing is the entry point for over 90% of data breaches. The best way to find out how vulnerable your organisation is — before an attacker does — is to simulate one yourself. This guide walks you through the entire process from authorisation to results.
Step 1: Get written authorisation first
This is non-negotiable. Before sending any phishing simulation email, get explicit written sign-off from:
- Your organisation's leadership (CEO, COO, or the person who owns cyber risk)
- Legal or compliance if you're in a regulated industry
- HR — they'll need to know this is happening before employees start raising complaints
The authorisation should state: the date range of the simulation, who is being targeted, what data will be collected, and how results will be used. This protects you if an employee escalates.
Step 2: Set up your sending domain
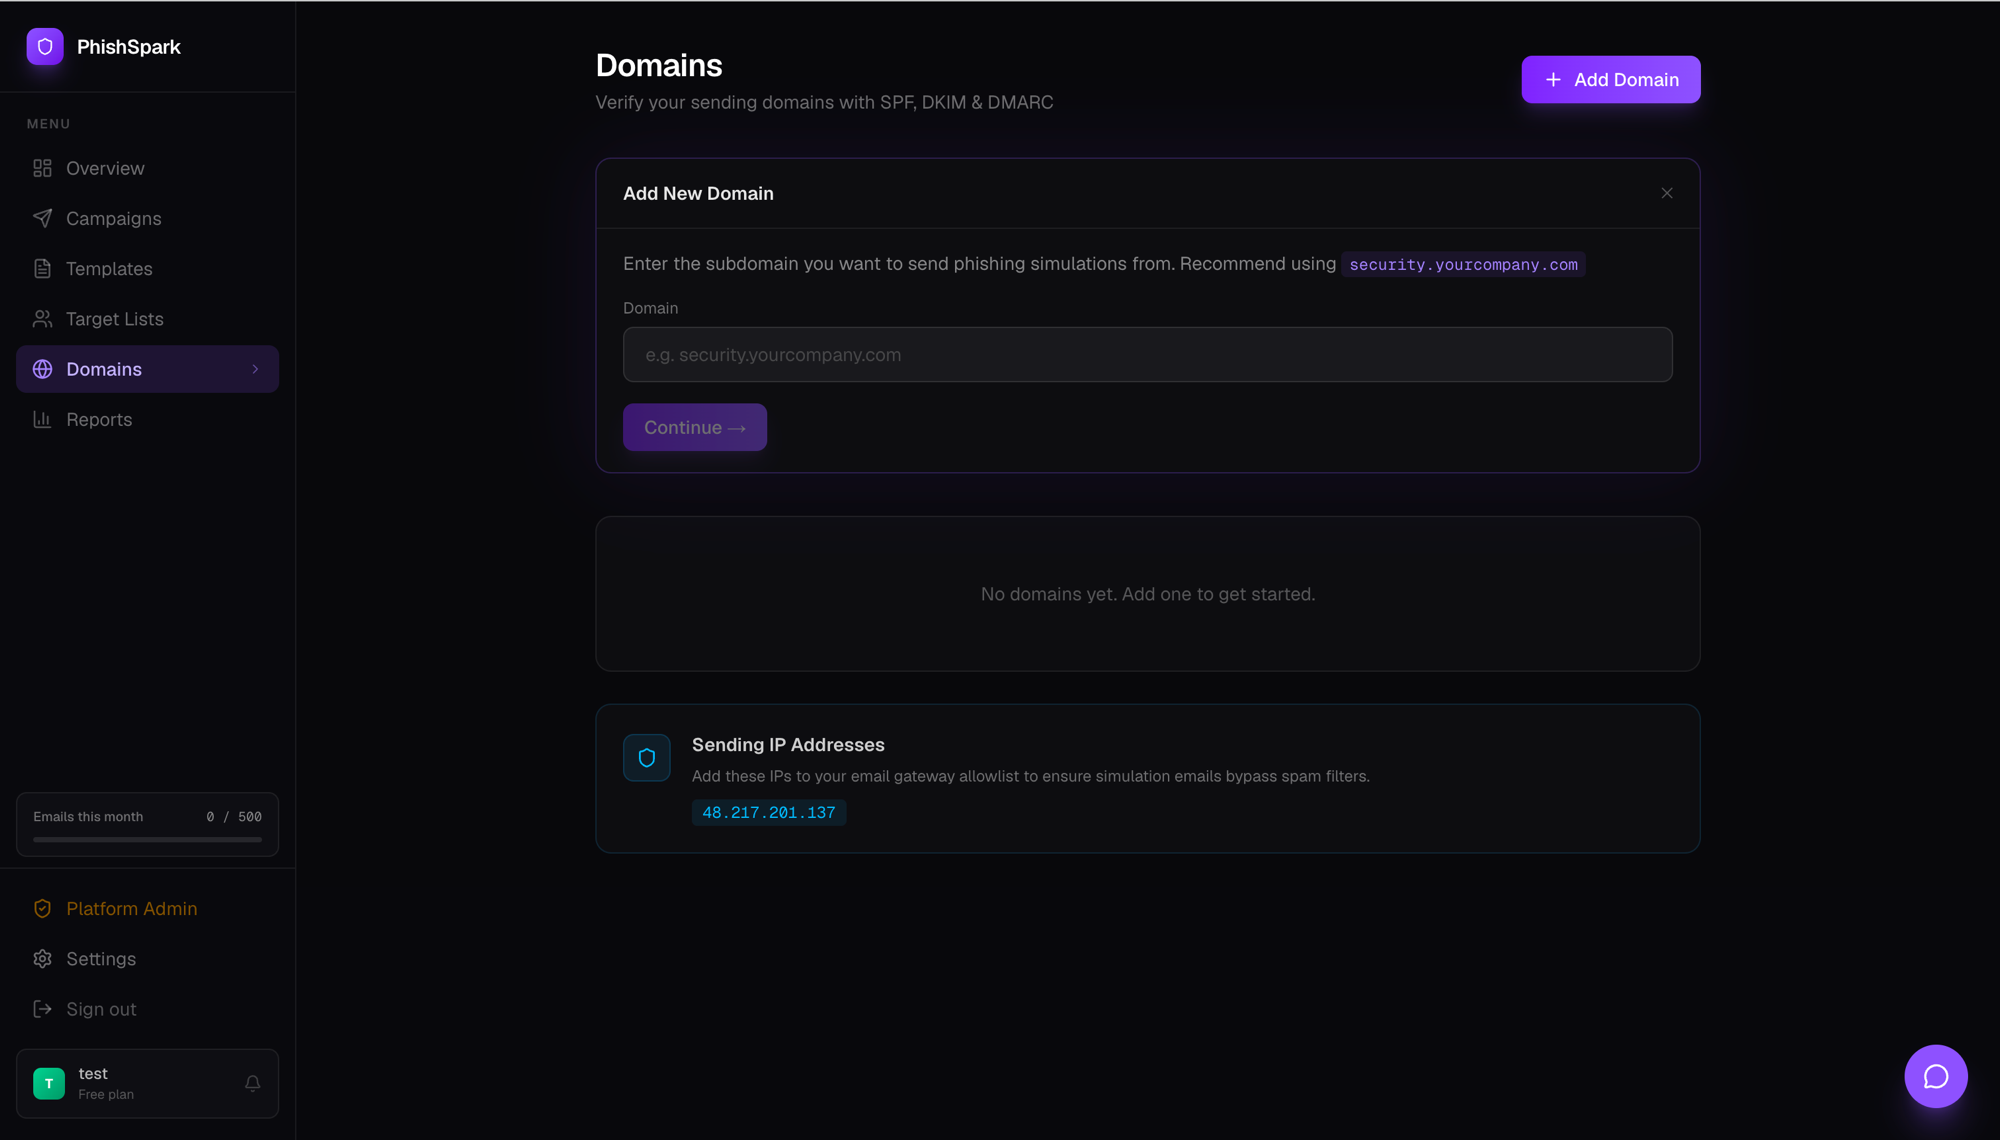
Emails from a random domain get filtered immediately. Use a domain that looks plausible — either your actual company domain or a lookalike (e.g. [email protected]).
For the domain to reach inboxes, you need three DNS records:
- SPF — tells receiving servers which IPs are allowed to send from your domain
- DKIM — a cryptographic signature that proves the email hasn't been tampered with
- DMARC — tells receiving servers what to do if SPF/DKIM fail
PhishSpark's domain verification wizard generates all three records for you. Copy them into your DNS provider (Cloudflare is recommended — changes propagate in seconds), click Verify, and you're done.
Step 3: Choose your template
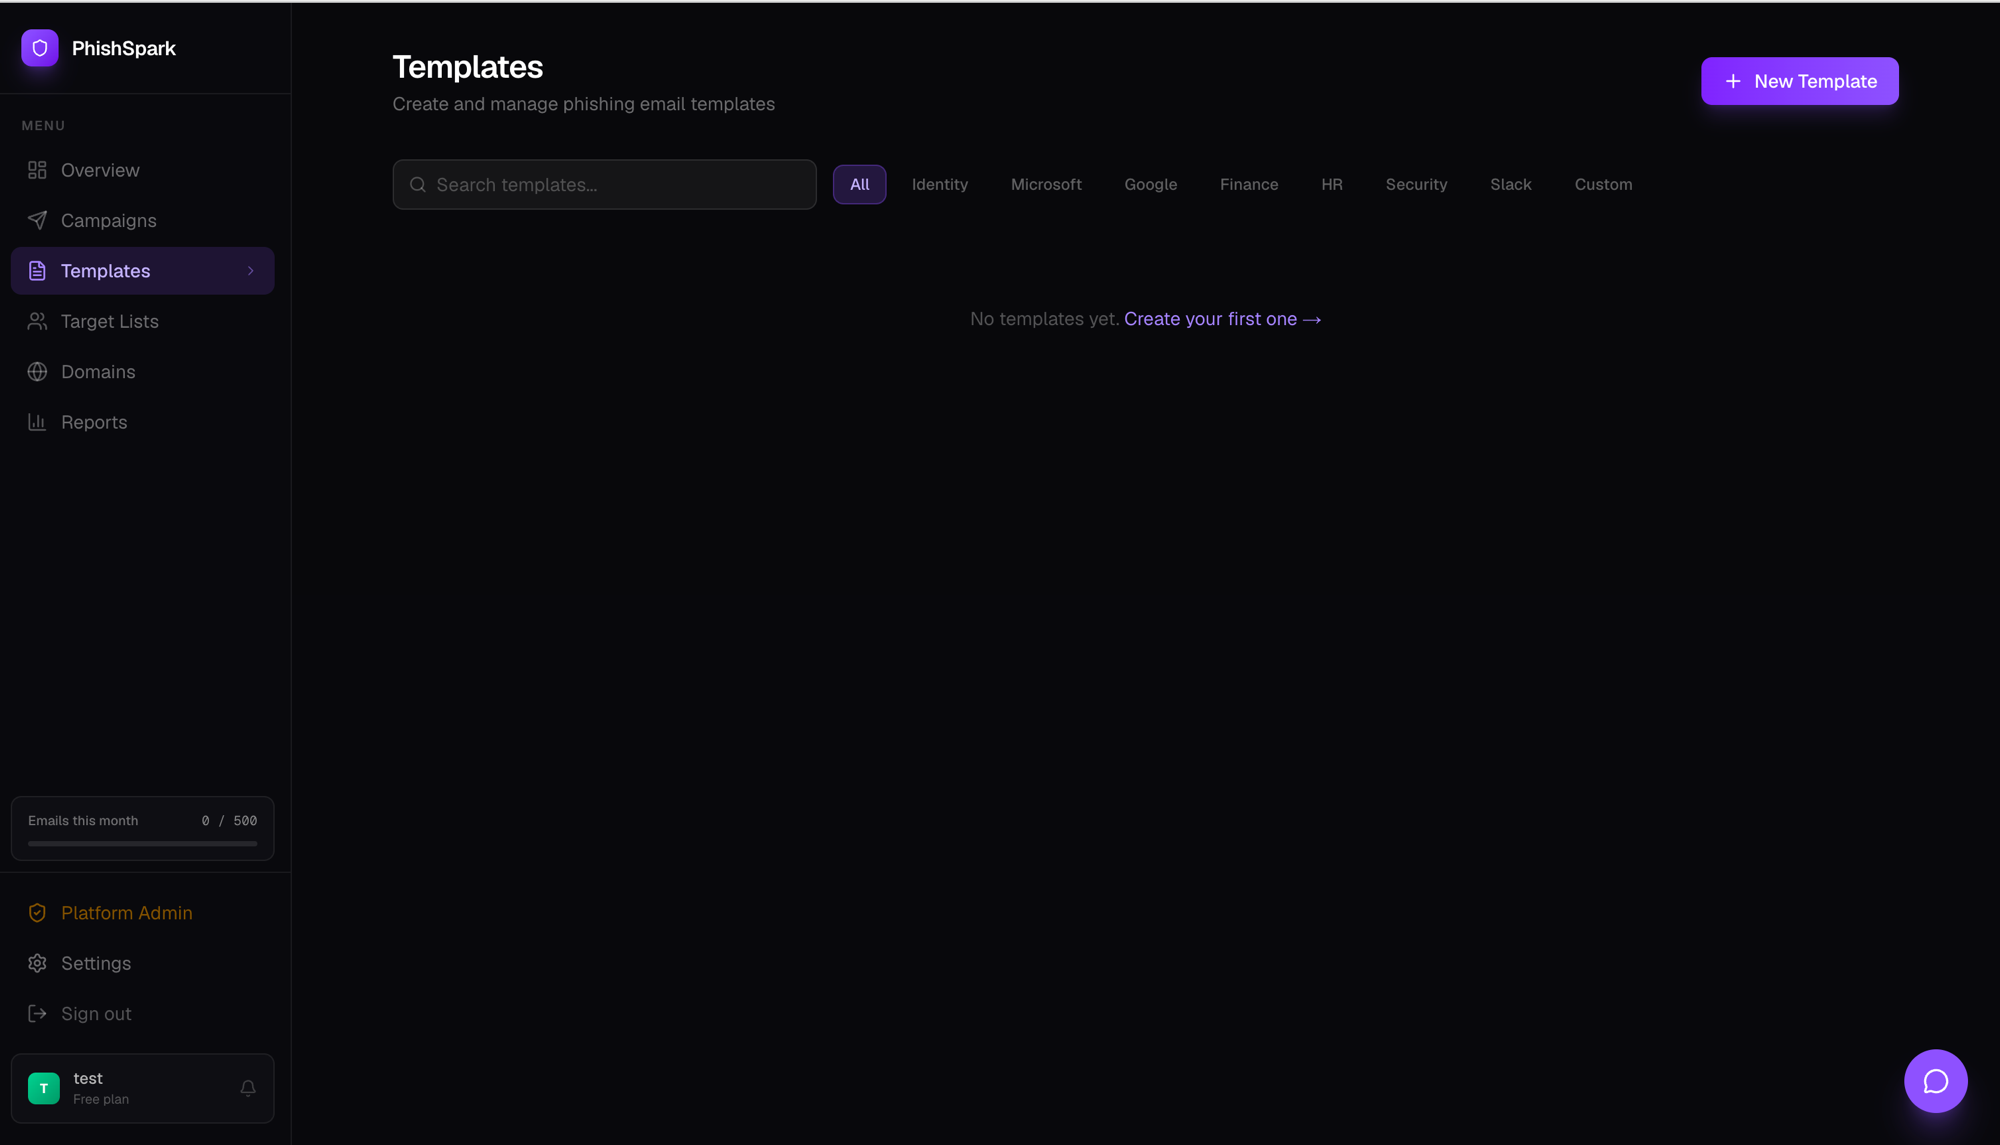
The most effective phishing templates in corporate environments are:
- IT password reset — "Your password expires in 24 hours" triggers urgency
- Microsoft 365 / Google Workspace — nearly everyone uses these
- Payroll update required — high urgency, high credential submission rate
- Shared document notification — "Yash shared a file with you"
- VPN access expiring — works well in remote-first companies
For your first simulation, start with a medium-difficulty template. An extremely obvious phish teaches you nothing — an impossible-to-detect spearphish demoralises employees unfairly.
Step 4: Whitelist your simulation IP
Most enterprise email environments route inbound mail through security gateways (Zscaler, Proofpoint, Mimecast). These gateways automatically click every link in every email to check for malware. This inflates your click stats massively — you'll see 100% click rates before a single human has read the email.
Before launching, whitelist the PhishSpark sending IP (48.217.201.137) in your gateway. PhishSpark shows you the exact IP and the whitelist instructions for common platforms in the domain settings page.
Step 5: Build your target list
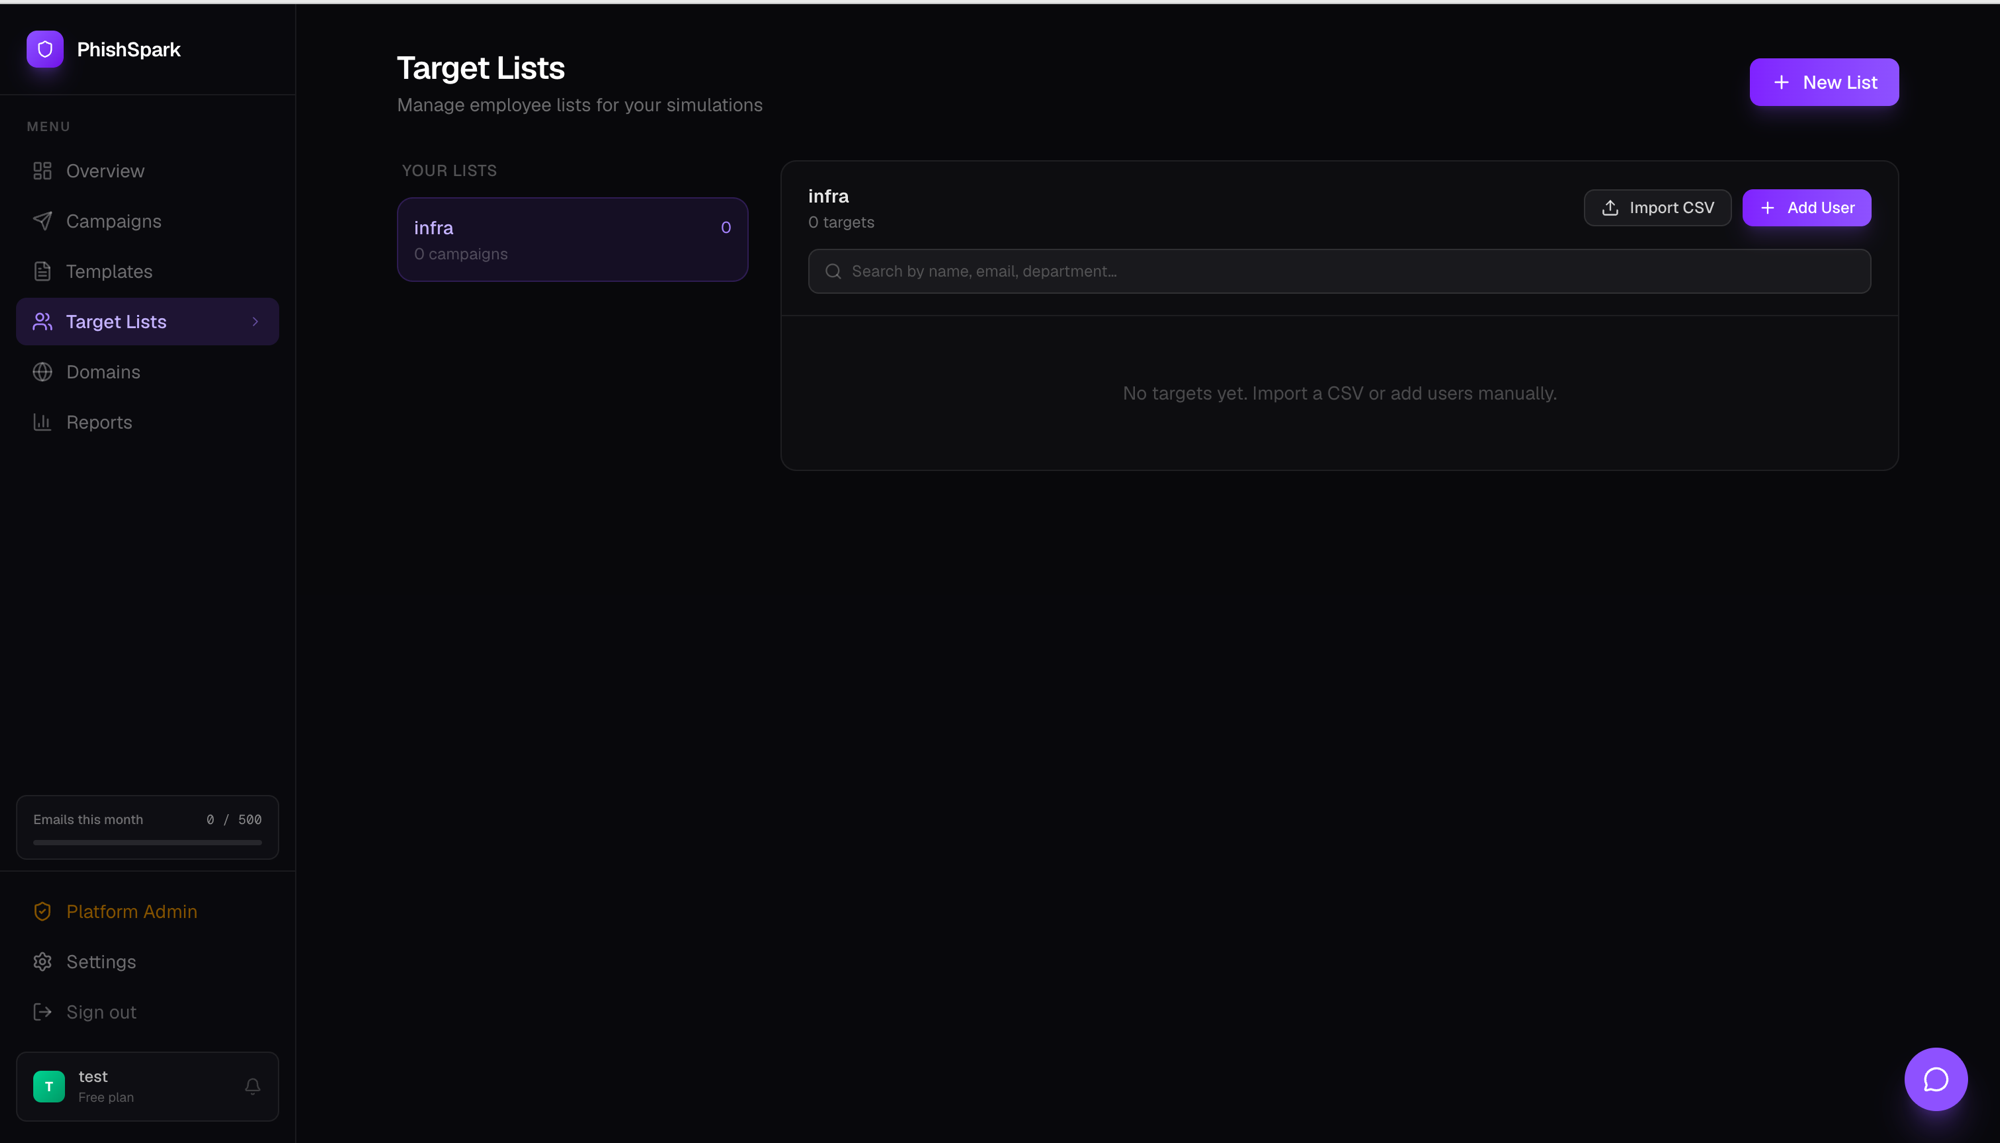
Upload a CSV with your employee email addresses. For a first campaign, consider starting with one department rather than the whole company — you'll get cleaner data and can iterate on your template before going broad.
Segment by department so you can see results by team. Security and IT teams almost always perform best. Finance and Executive assistants typically have the highest click rates.
Step 6: Launch and monitor
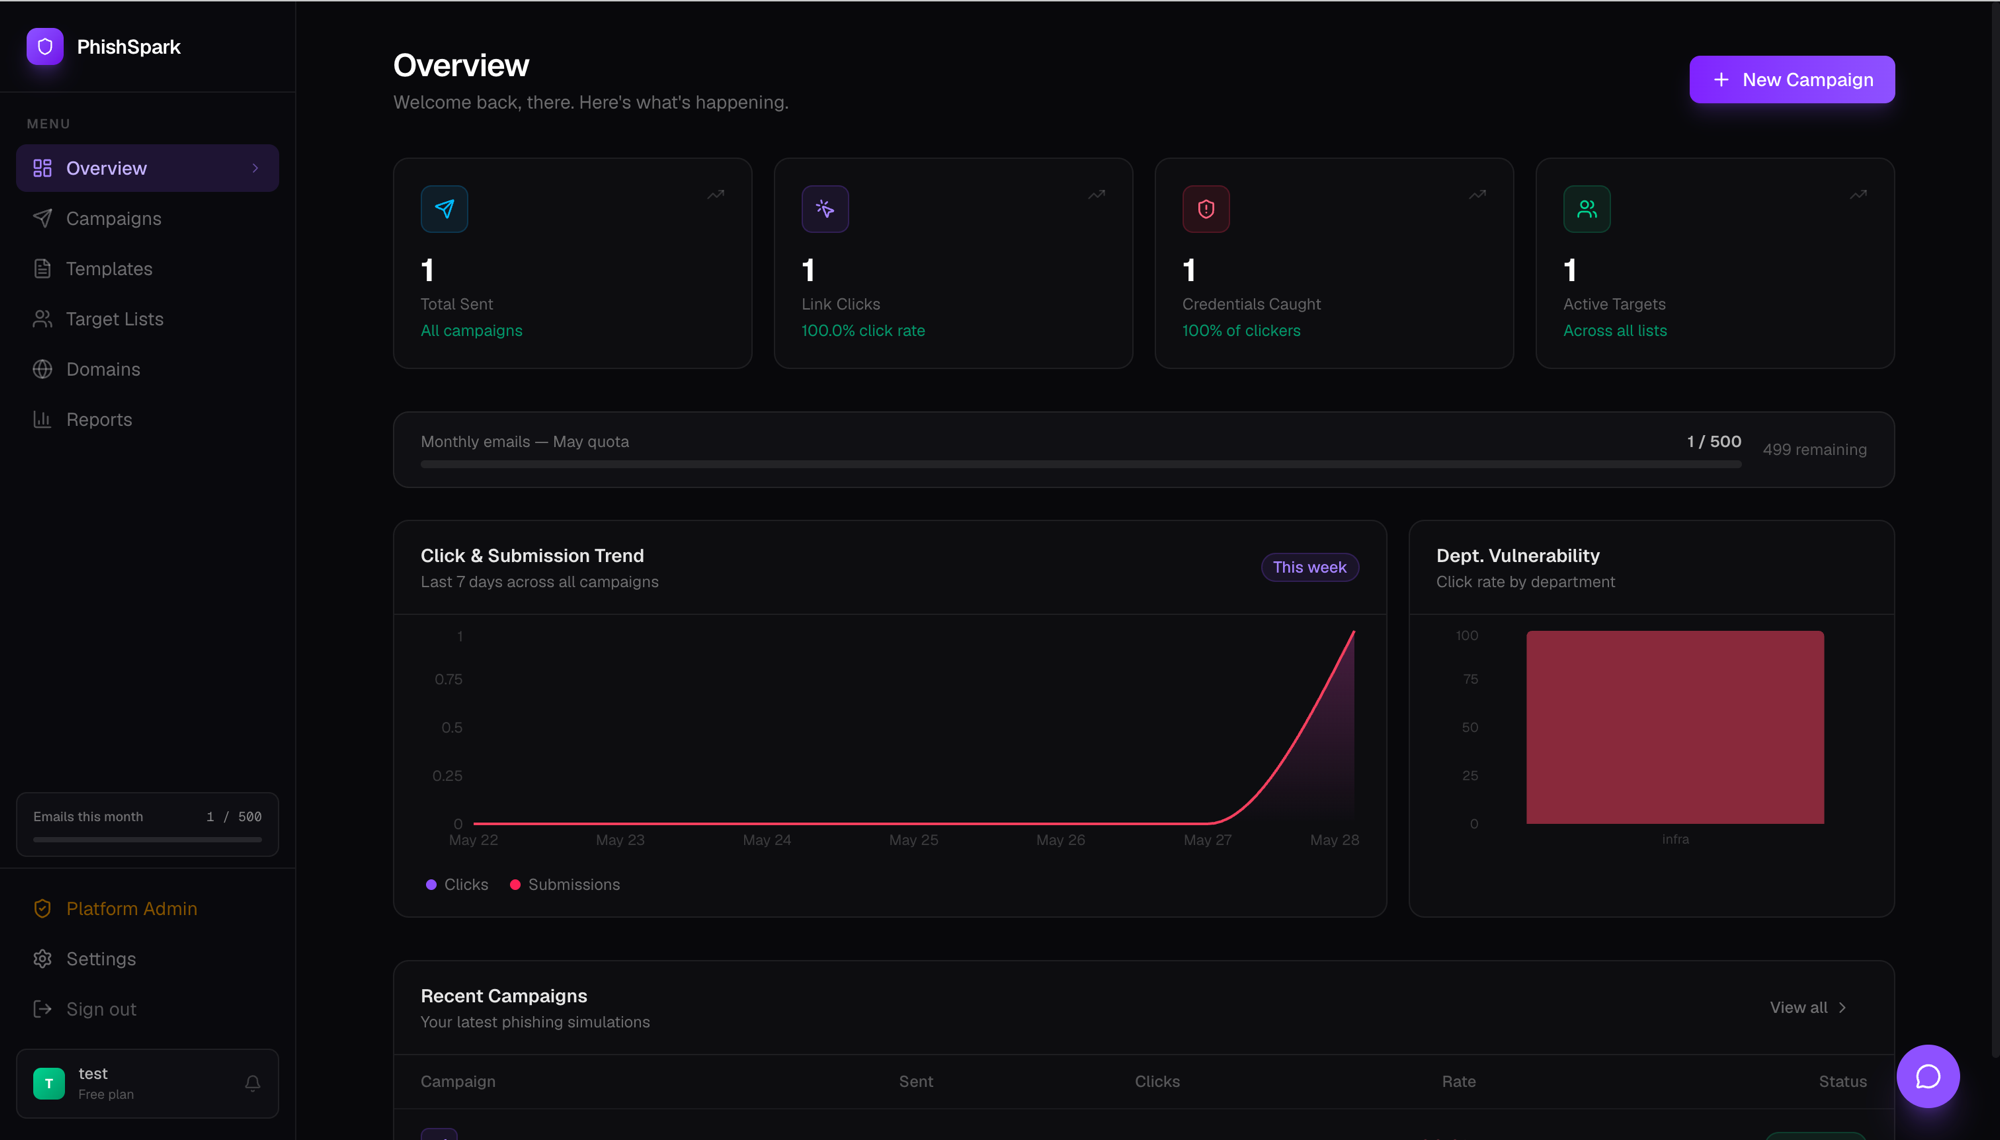
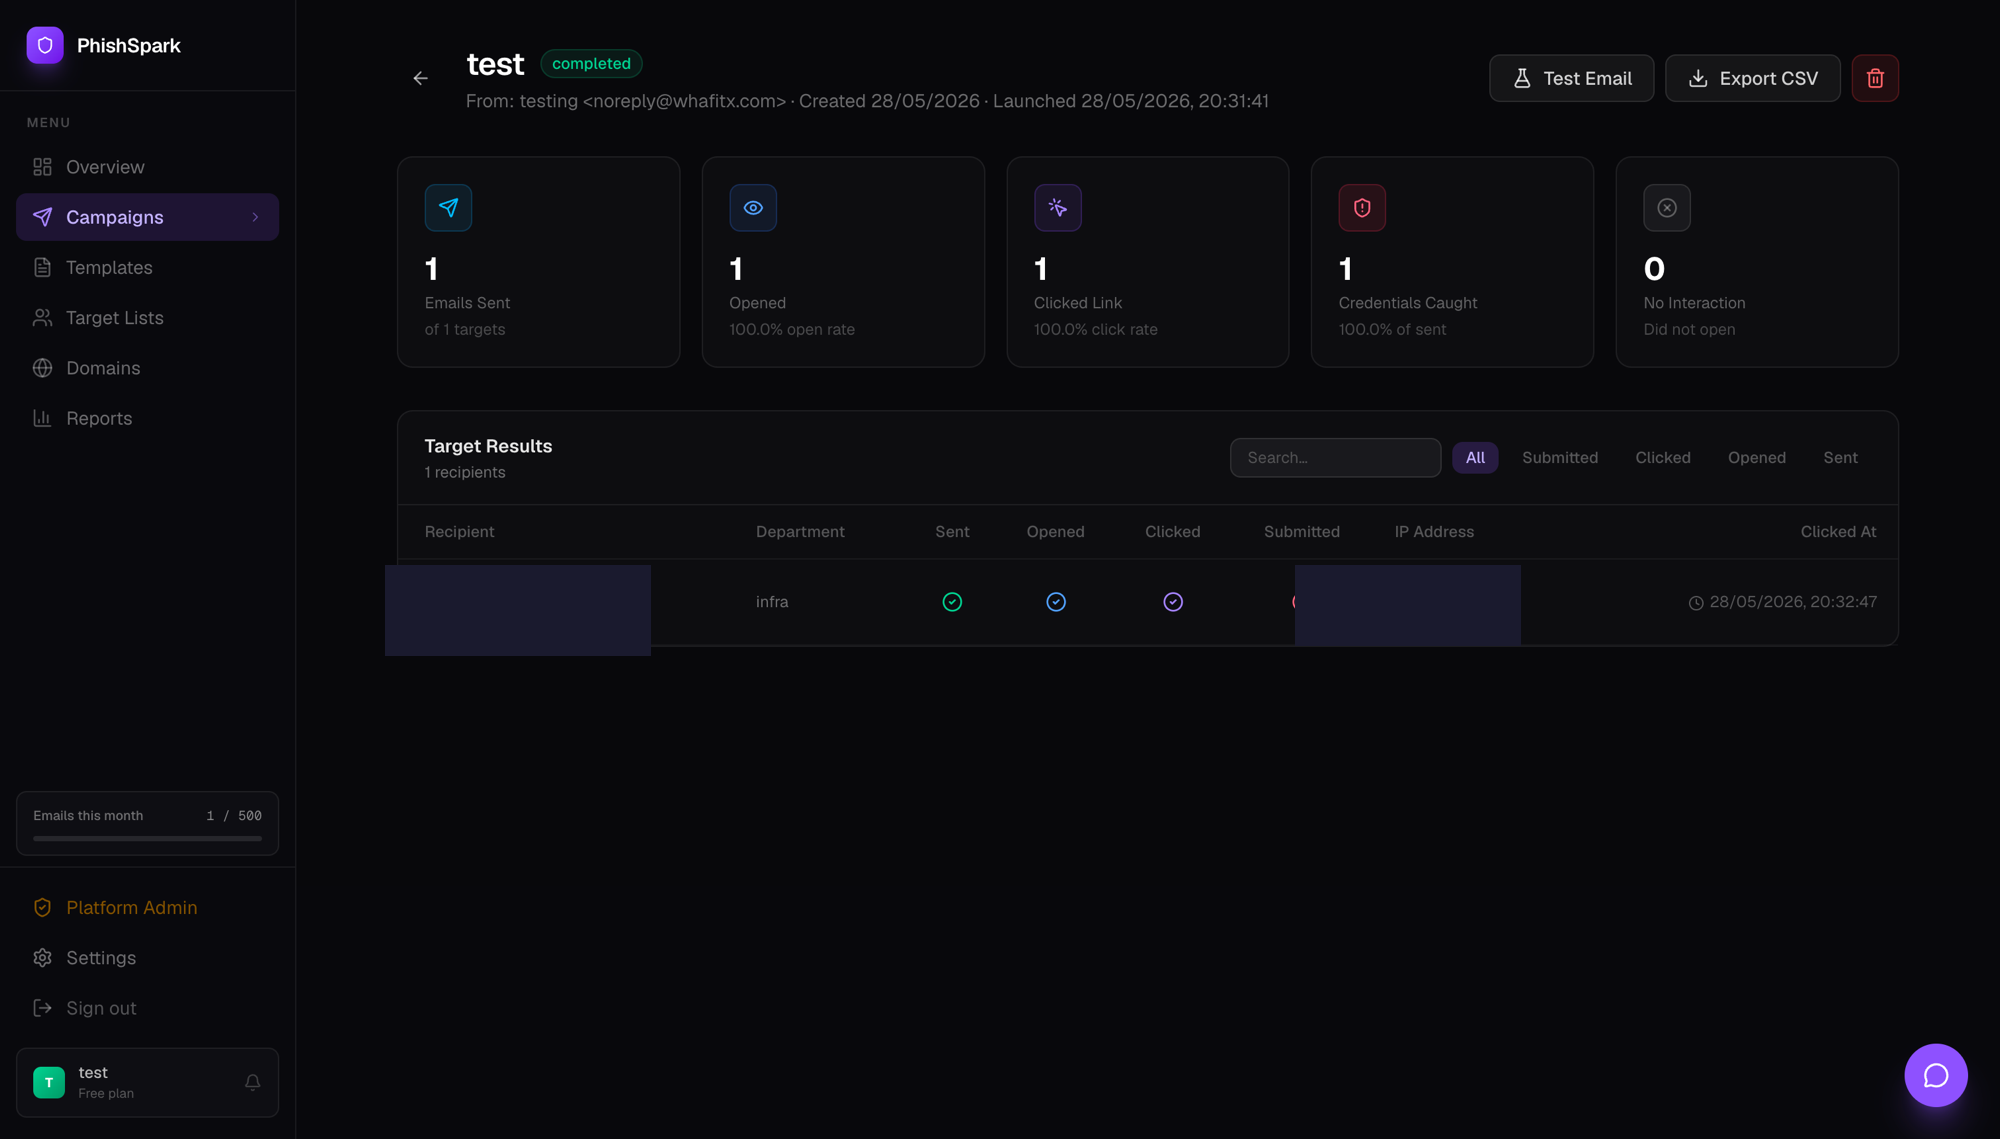
Send the campaign and watch the real-time dashboard. You'll see:
- Email opened — tracked via a 1x1 pixel (not always reliable due to email preview panes)
- Link clicked — HMAC-verified, so forwarded emails don't inflate counts
- Credentials submitted — the clearest signal of vulnerability
Don't interfere once it's running. Let it run for 48–72 hours before pulling results — some employees read email infrequently.
Step 7: Read and act on results
A click rate under 10% is good for a first simulation. Over 30% indicates your team needs targeted training. Credential submission rate is the more important metric — someone who entered their password is a much higher risk than someone who just clicked.
After the simulation, employees who clicked or submitted should see a training page immediately (PhishSpark shows this automatically on the phishing landing page). Follow up with department-level briefings within the week — not as a blame exercise, but as a learning moment.
Ready to run your first simulation?
Create a free PhishSpark account and have your first campaign live in 30 minutes. The free tier covers 500 targets and one domain — enough for most initial assessments.
Run your first phishing simulation today
Free for up to 500 targets. No credit card, no DevOps, no setup headache.
Get started free