GoPhish Tutorial 2026: Install, Configure & Launch in 30 Minutes
The only GoPhish setup guide you need for 2026. Download the latest release (v0.12.1), fix the 5 most common install errors, configure SMTP and DKIM, and launch your first phishing simulation — or skip the server work entirely with a free GoPhish alternative.
GoPhish is the most widely used open-source phishing simulation tool. It's free, powerful, and well-documented. This guide walks through the complete setup process — from provisioning a server to sending your first test campaign — so you know exactly what's involved before you start.
It also covers the most common problems you'll hit and how to fix them, and it's honest about the cases where GoPhish is more work than it's worth.
What you need before you start
- A Linux VPS — DigitalOcean, Linode, or AWS EC2. Minimum 1GB RAM, Ubuntu 22.04 LTS. Budget $6–12/month.
- A domain for sending — either a lookalike of your target company or a neutral domain. Don't use your real company domain for simulations unless you fully understand the deliverability implications.
- DNS access to that domain — you'll need to add SPF, DKIM, and DMARC records
- An SMTP relay or credentials — Mailgun, SendGrid, Amazon SES, or Postfix on the same VPS
- 30–60 minutes for first-time setup (longer if you run into DNS propagation delays)
Step 1: Provision the VPS
Log in to DigitalOcean (or your preferred provider) and create a Droplet:
- Image: Ubuntu 22.04 LTS x64
- Size: Basic — 1GB RAM / 1 vCPU ($6/month)
- Region: choose one close to your target employees for better latency
- Enable the firewall immediately — allow SSH (22), and GoPhish's default ports (3333 for admin, 80/443 for the phishing pages)
Note the server's IP address — you'll need it for the SPF record.
Step 2: Install GoPhish
SSH into your VPS and run:
sudo apt update && sudo apt install -y unzip
wget https://github.com/gophish/gophish/releases/latest/download/gophish-v0.12.1-linux-64bit.zip
unzip gophish-v0.12.1-linux-64bit.zip -d gophish
cd gophish
chmod +x gophish
Before starting GoPhish, edit config.json to change the admin panel to listen on a specific IP (not 0.0.0.0) and to set up TLS if you have a certificate:
{
  "admin_server": {
    "listen_url": "0.0.0.0:3333",
    "use_tls": false
  },
  "phish_server": {
    "listen_url": "0.0.0.0:80",
    "use_tls": false
  }
}
Start GoPhish:
sudo ./gophishThe first run prints a temporary admin password. Access the admin panel at http://YOUR_VPS_IP:3333 and change the password immediately.
Step 3: Configure your sending profile (SMTP)
GoPhish doesn't send email itself — it relays through an SMTP provider. In the admin panel, go to Sending Profiles → New Profile.
Option A: Amazon SES (recommended for deliverability)
- Create an AWS account, verify your sending domain in SES, and request production access (takes 24–48 hours for approval)
- Create SMTP credentials in SES and enter them in GoPhish's sending profile
- Host:
email-smtp.us-east-1.amazonaws.com, Port: 587, Username/Password: your SES SMTP credentials
Option B: Postfix on the same VPS (DIY)
sudo apt install postfix -y— select "Internet Site" and enter your domain- Configure Postfix for SMTP relay out — this gets complex quickly if you've never set up an MTA
- Your VPS IP is fresh and has no reputation — you will almost certainly land in spam on first send
The SES route is strongly recommended unless you're experienced with mail server administration.
Step 4: Set up DNS records
For your phishing emails to reach inboxes (not spam), your sending domain needs three records. Add these in your DNS provider (Cloudflare recommended — changes propagate in seconds):
SPF record (TXT record on your domain root):
v=spf1 include:amazonses.com ~all(Replace amazonses.com with your actual relay's SPF include, or use ip4:YOUR_VPS_IP if running Postfix directly.)
DKIM record (TXT record, specific to your relay):
Amazon SES generates your DKIM keys during domain verification and provides you with the records to add. Copy them exactly — DKIM records are long and one wrong character breaks signing.
DMARC record (TXT record on _dmarc.yourdomain.com):
v=DMARC1; p=none; rua=mailto:[email protected]Use p=none for simulations — this means failing emails still get delivered, just reported.
Wait for DNS to propagate (Cloudflare: seconds; other providers: up to 48 hours). Verify with:
dig TXT yourdomain.com
dig TXT _dmarc.yourdomain.com
Step 5: Create an email template
In GoPhish: Email Templates → New Template. GoPhish ships with no built-in templates — you write everything from scratch or import from an HTML file.
Key things to include:
- A realistic "From" name that matches your sending profile
- The
{{.URL}}variable where the phishing link should appear — GoPhish substitutes this with a tracked per-recipient URL - The
{{.FirstName}}variable for personalisation if your target list includes first names
Test the template by sending to yourself before running a real campaign. Check the spam folder — if it landed there, your DNS or SMTP configuration needs work before you go broad.
Step 6: Build your target group and launch
Go to Users & Groups → New Group and import a CSV with columns: First Name, Last Name, Email, Position.
Create a campaign: Campaigns → New Campaign, select your template, sending profile, landing page, and target group. Set a URL for your phishing landing page (a page on your VPS — GoPhish can serve this, or you can use an external server).
Launch and monitor the dashboard for opens, clicks, and form submissions.
Common GoPhish problems and fixes
| Problem | Cause | Fix |
|---|---|---|
| Emails going to spam | New IP reputation, missing DKIM | Use SES; verify DKIM signing is working |
| 100% click rate instantly | Email gateway scanning all links | Whitelist your GoPhish server IP in your email gateway |
| DKIM signature failing | DNS propagation delay or copy error | Verify with dig TXT, wait 24h |
| SES stuck in sandbox | AWS hasn't approved production access | Submit SES production access request — approval takes 24–48h |
| GoPhish admin panel unreachable | Firewall blocking port 3333 | Open port 3333 in VPS firewall for your IP only |
When GoPhish is the wrong tool
GoPhish is excellent if you:
- Have a DevOps engineer available to manage the server
- Run simulations frequently enough to justify the infrastructure cost
- Need full data control and can't use any cloud service
GoPhish is the wrong tool if:
- You want to run one campaign this week and not think about a server again for 3 months
- Your team doesn't have someone comfortable with Linux, DNS, and SMTP troubleshooting
- You need templates, department-level reports, or HMAC-secured tracking out of the box
- You're an IT generalist or security intern running your first simulation
In those cases, PhishSpark's free tier — 500 targets, 1 domain, no server required — gets you the same results in 30 minutes instead of an afternoon. The infrastructure is managed, DKIM signing is automatic, and templates are included.
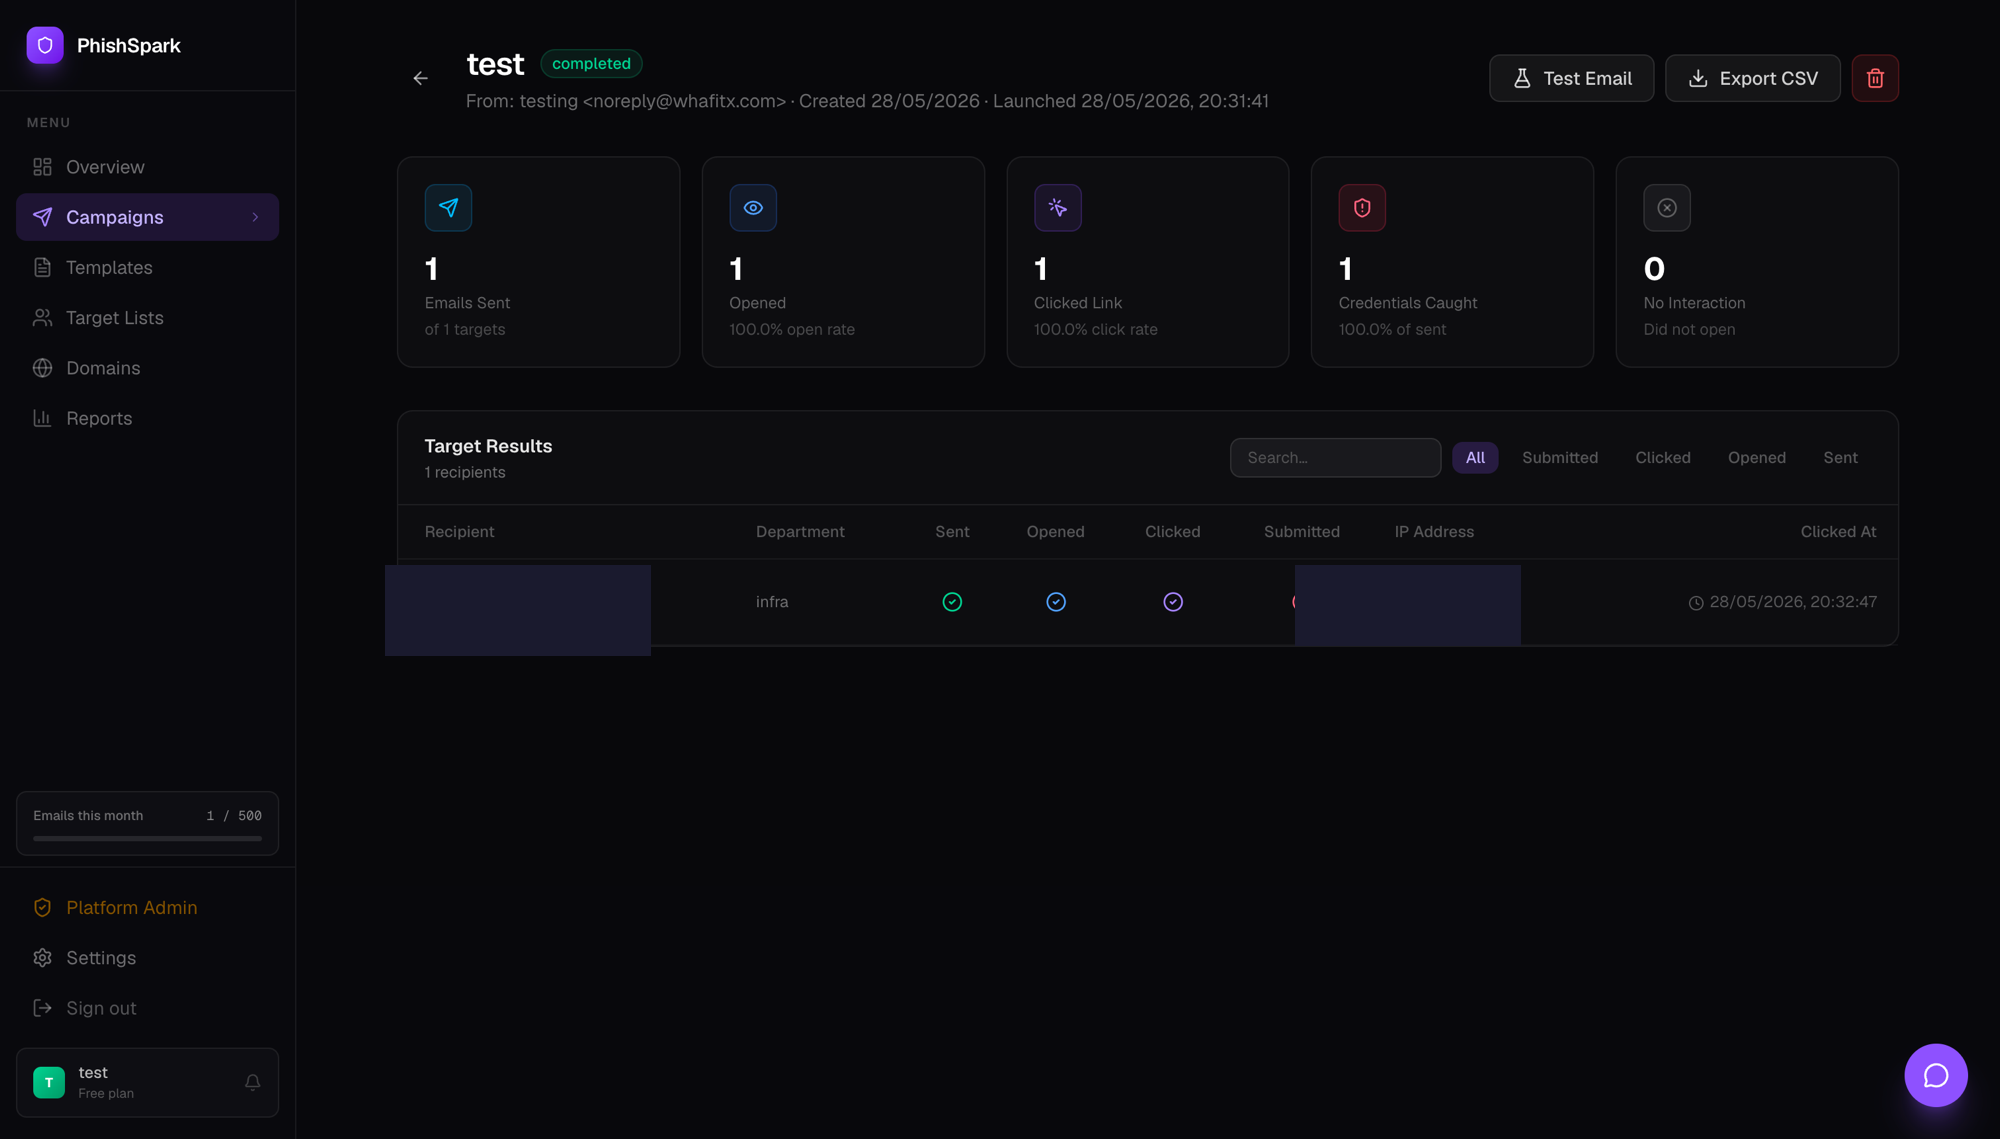
Both tools accomplish the same goal. GoPhish gives you control. PhishSpark gives you time back.
Run your first phishing simulation today
Free for up to 500 targets. No credit card, no DevOps, no setup headache.
Get started free